Telegram Chat Widget
A chat widget is a valuable tool that enables website visitors to engage in real-time communication with your company. Typically, it appears as a button located at the bottom of a web page, offering a warm greeting and providing immediate support to users. To seamlessly integrate a chat widget into your website.
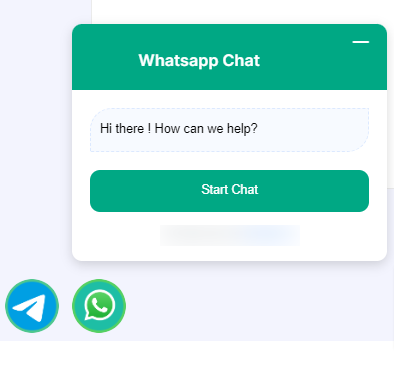
To Create a Chat Widget:
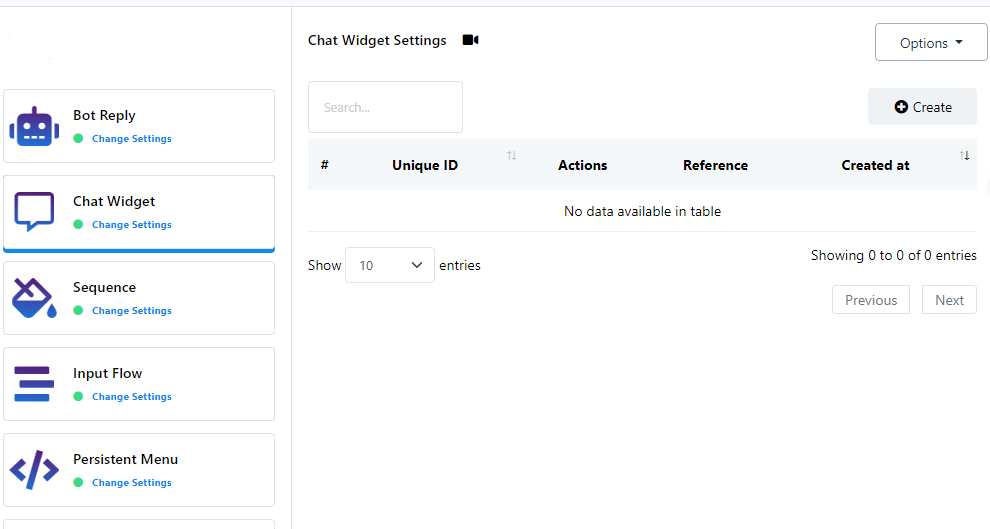
- Navigate to the Telegram Bot Manager Page.
- Within the Telegram Bot Manager, select the `Chat Widget` section and click on the `Create` button.
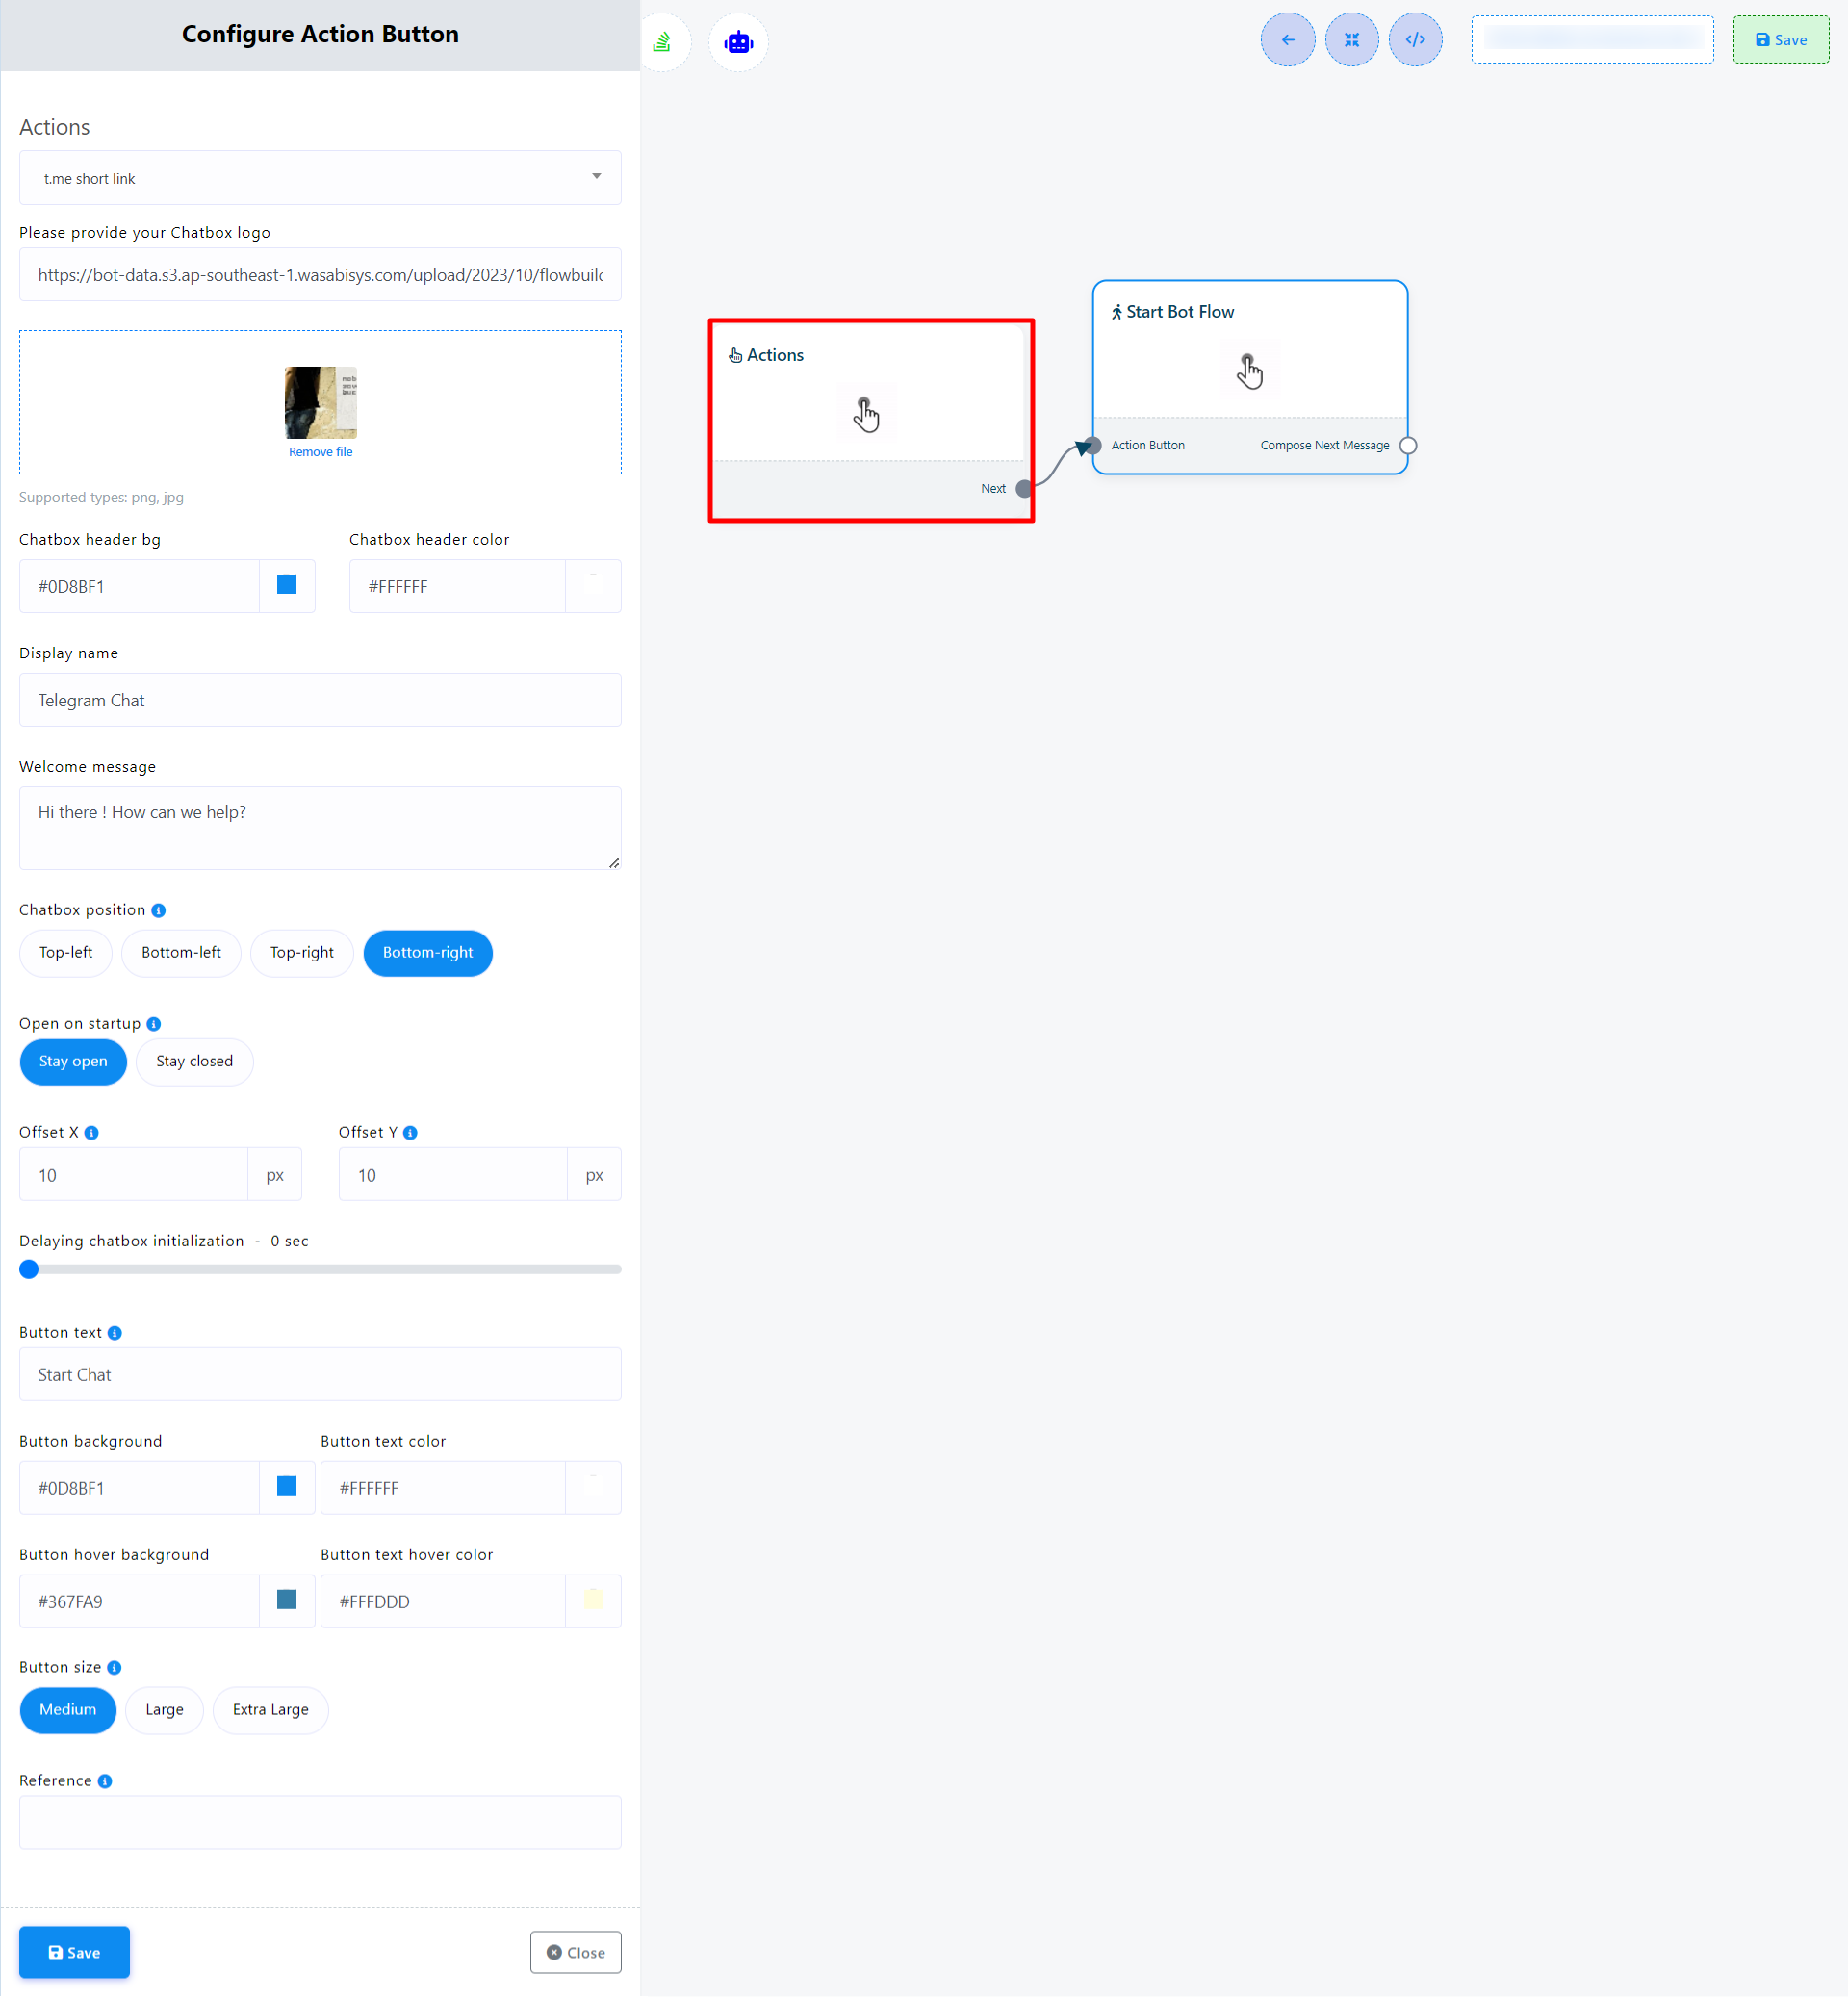
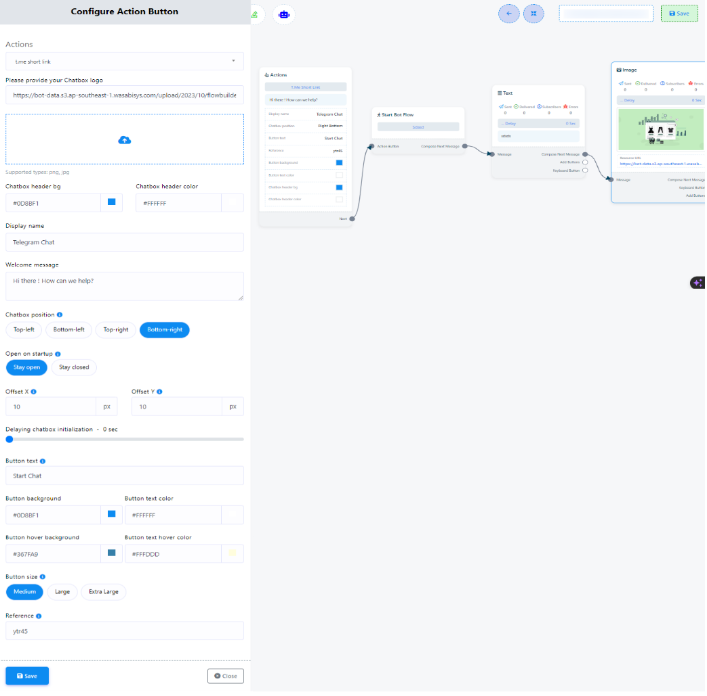
- Configure the action button by completing the following fields and clicking `Save`:
- Choose a t.me short link from the Actions dropdown menu.
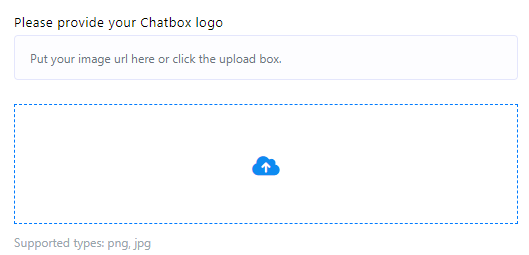
- Upload a .png or .jpg file for your user logo, or provide a link to your user logo.
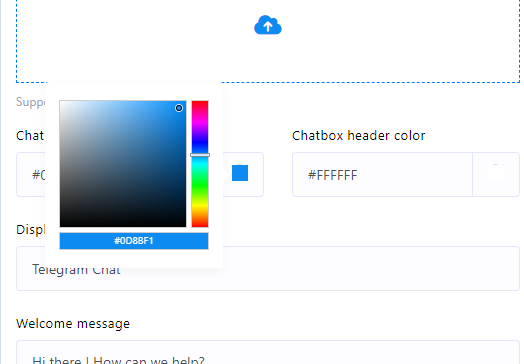
- Select a color from the color palette or input a hexadecimal color code for the chat widget`s header background.
- Set a display name for your chat widget.
- Craft a welcoming message for your users
- Choose the desired position for the Chat Widget on your webpage.
- Define the button text.
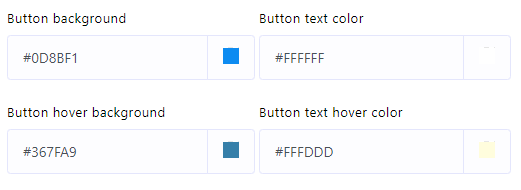
- Specify colors for the chat widget`s button background, button text color, button hover background, and button text hover color.
- Set the button size.
- Provide a reference to easily track the plugin later.
- Click the `Save` button to preserve your bot flow configurations.
- Double click on the Start Bot Flow and give a name for the bot flow.
- Now let’s add desired reply from the Start Bot Flow socket for the Chat Widget. We can use any kind of replies like Text, image, audio, video or whatever we want. Then save the bot flow.
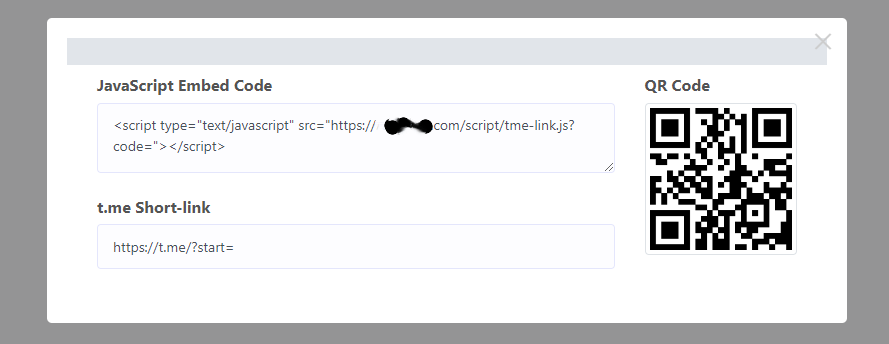
- Retrieve the embedded code and insert it into your website`s source code.







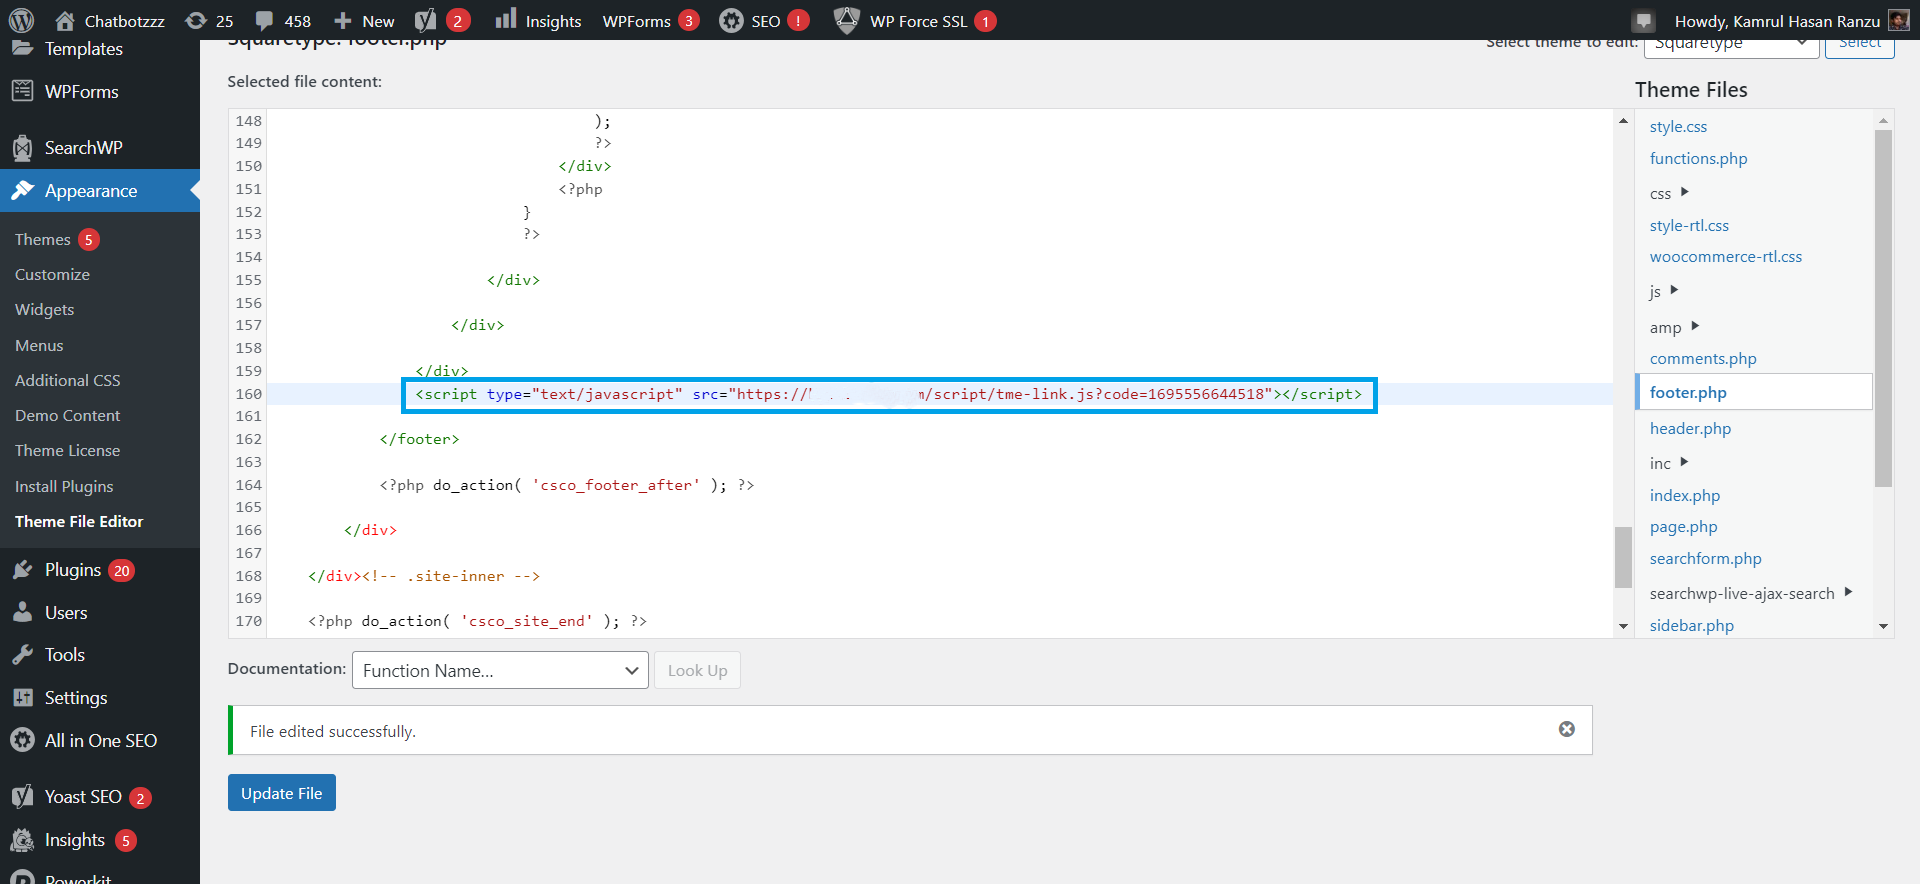
User can input the embedded code on both a custom website and a WordPress website. Here’s how:
For WordPress website:
- Copy the JavaScript Embed Code.
- Access your WordPress Dashboard.
- Go to `Appearance` > `Theme File Editor.`
- Paste the copied code into the footer section.
For Custom website:
- Copy the JavaScript Embed Code.
- Paste it into the header or footer section of your `index.php` or `index.html` file.
Your Chat Widget will now be displayed on your website, providing an efficient means of communication and support for your visitors.
